
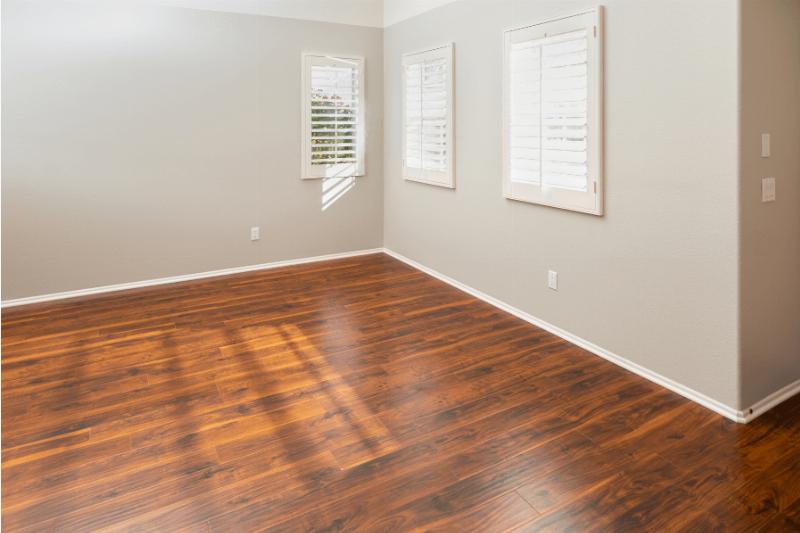
As you traverse the diverse landscape of the laminate-cutting process, you’ll find that how to cut laminate flooring is not just about being precise; it’s also about preventing expensive errors. Incorrect measurements or poorly executed cuts can result in gaps, uneven edges, and the added expense of fixing mistakes.
Therefore, it’s crucial to understand the basics of selecting the appropriate tools and materials, measuring accurately, and making precise cuts to guarantee a perfect installation.
In this guide, we’ll talk about how to cut laminate flooring with a miter saw, explore different cutting tools, and a few tips to ensure a successful laminate flooring installation.
Project Overview
| Working Time | 30 minutes to 1 hour |
| Total Time | 30 minutes to 1 hour |
| Estimated cost | $0 |
| Skill Level | Beginner |
Things You’ll Need
- Miter saw
- Pencil
- Square
- Eye protection
- High-TPI blade
- 220-grit sanded block
- Ear protection
Instructions to Follow
Before you start, first follow the preparatory steps, then go for cutting the laminate flooring.
Preparatory Phase
Before cutting and installing laminate flooring, it’s essential to allow it to adjust to the indoor environment of the building for a minimum of 48 hours. However, if you neglect this acclimation process before installation, there could be unwanted movement after installation, potentially causing gaps, cracks, and other types of damage.
Steps to follow for Laminate Floor Cutting with a Miter Saw
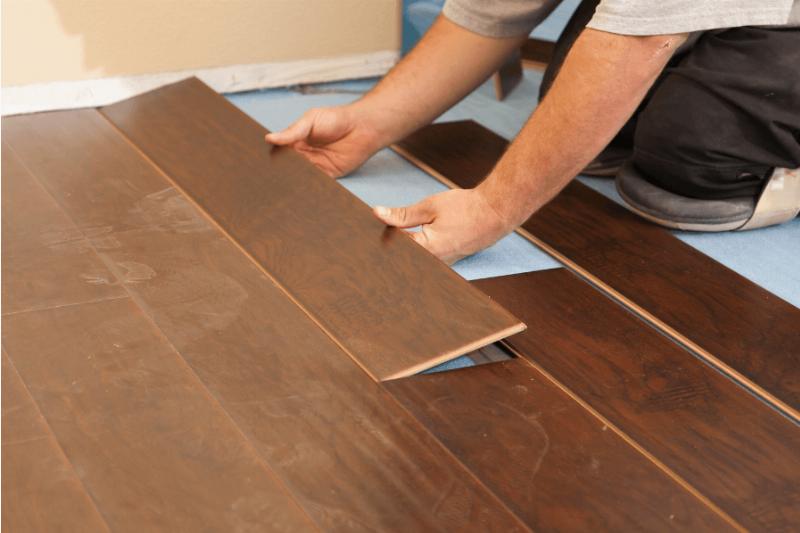
Use the following steps to cut laminate flooring to the desired length efficiently and with a clean finish using a miter saw.
Step:1 Mark the Cutting Line
Once you’ve put in the last full-length piece in a row, put a loose laminate piece on top of the installed one and make sure its tongue faces the opposite way.
Move its end against the wall, then move it back 1/4 inch from the wall for the expansion gap. Check if the piece is straight, then use a pencil and mark where the installed piece’s end meets the loose piece.
To make the cutting line more transparent, use a square to draw it across the laminate’s face, ensuring it’s straight.
Step:2 Place the Laminate on a Saw
Set the laminate on the miter saw with the marked piece against the fence. Slide the laminate until the cutting line aligns with the edge of the saw blade. If necessary, use clamps to secure the piece in place.
Step:3 Cut the Laminate
Activate the saw’s trigger and allow the blade to reach its full speed. Be careful and keep your fingers away. Gradually lower the blade into the laminate and gently push it through until it goes entirely across. Release the trigger, let the blade stop, and then remove the cut piece.
Step:4 Sand the Cut
Smooth out the cut edge by gently sanding it with a 220-grit sanding block.
Step:5 Begin the next row
Start the next row by using the extra piece from your cut. This helps the seams look staggered and natural as you go from one row to the next. If the extra piece is too small, cut a new plank in half and begin the new row.
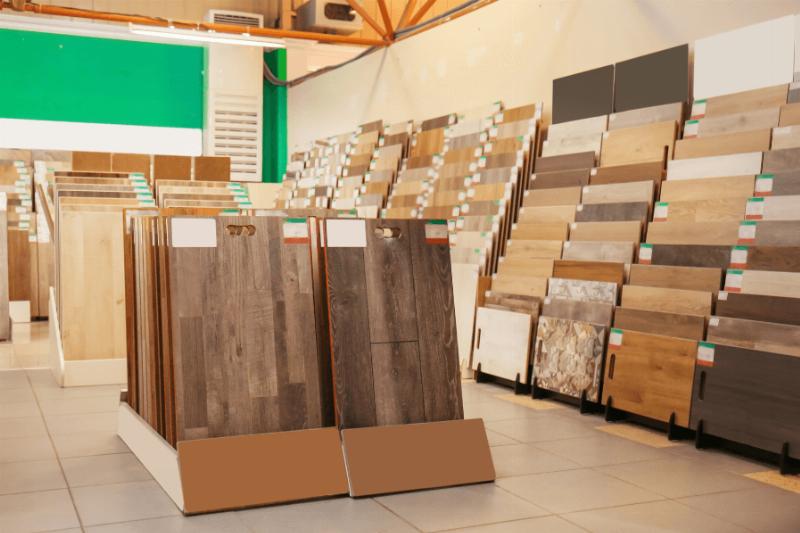
What are the Best Tools to Cut Laminate?
When cutting laminate flooring, it is critical to use the proper tools. While professional laminate cutters are available, many DIYers may obtain good results with ordinary equipment from their toolkits.
Here are some useful tools for cutting laminate:
- Miter saw: It is a handy tool for cutting laminate planks to a length that allows for quick straight cuts and adjustable angles as needed.
- Jigsaw: A must-have tool for cutting laminate flooring, especially when dealing with details or curves. Jigsaws are handy for intricate cuts, such as around columns or toilet flanges.
- Circular saw: Quick and efficient, circular saws are suitable for cutting laminate flooring, especially if you’re comfortable using them. They can make straight cuts with ease.
- Table saw: Although table saw is not ideal for crosscuts, it is handy for ripping the whole edge of laminate planks to fit against a wall in the last row.
- Handsaw: A standard handsaw can be used for precise cuts, especially when power tools are unavailable. Ensure you use a fine-tooth handsaw with at least 15 teeth per inch to avoid chipping.
How Can You Cut Laminate Flooring Without Causing any Chipping?
To cut laminate flooring without causing chips, it’s crucial to use a saw with a sufficient number of teeth for a clean and crisp cut. If opting for a hand saw, ensure it has a minimum of 15 teeth per inch (TPI), as more teeth per inch result in a finer cut.
Select a blade with 30 teeth or more to achieve smooth cuts when using a jigsaw. Look for a blade with 80-100 teeth for a powered miter saw to ensure a clean and precise cut.
Pro Tips for Precise Laminate Flooring Cuts
Here are some valuable tips for cutting laminate flooring:
- Start your project with new finish blades on your tools to prevent chipping on the face of the flooring.
- Opt for a washable marker when marking your cuts for accuracy and easy cleanup.
- Maintain a ⅛”-¼” gap between the flooring and the wall to simplify installation and accommodate wall expansion. Baseboards can cover gaps ranging from ½”-to ¾” depending on the type used.
- When making cuts, ensure the finished side of the flooring is facing up. This technique will help to minimize the risk of chipping.
- When you want to cut a piece of flooring to both length and width. First, cut to the length for better precision.
How to Cut the Laminate Around Pipes & Obstacles?
Cutting laminate flooring around pipes and obstacles requires careful planning and precision. Follow these steps for a seamless installation:
- When dealing with pipes, measure the width and length of the center of the pipe.
- Take the laminate piece and mark where you want the center of the pipe to be.
- Use a jigsaw or hole saw to create an opening for the pipe around the marked point. Ensure the hole’s diameter is ½” inch larger than the pipe’s diameter, avoiding making it too large.
- Divide the laminate piece into two by cutting across its width through the center of the hole.
- During installation, fit these pieces around the pipe, securing them together with suitable glue.
For cutting around odd shapes and obstacles
- Utilize a profile gauge to replicate the unusual shape.
- Place the profile gauge on the laminate and outline the shape with a pen.
- Use a jigsaw to cut along the marked shape, keeping to the waste side.
- Wipe off any markings with a damp cloth.
Is the laminate flooring recommended to be cut with the underside facing up?
It is advisable to cut laminate flooring with the visible side (the side that will be seen when laid) facing toward you. This method ensures a clean and neat cut. Using a saw with a fine tooth blade is crucial to achieve the best finish.
If you have any doubts about whether your saw suits the task, it’s good practice to conduct a trial run before starting the cutting process. This allows you to familiarize yourself with the equipment and ensure optimal results when working on your flooring project.
Hire a Contractor for the Laminate Flooring
Hiring a professional contractor for your laminate flooring installation can be a smart decision. It ensures a smooth and expertly executed project. Smart Remodeling LLC Company is a reliable service provider known for its expertise in flooring installations and home remodeling.
The company is stationed in Houston and boasts a team of skilled professionals with extensive experience in the field of remodeling. Whether you’re looking to update your kitchen, bathroom, or entire home, they have the expertise to deliver high-quality results.
Smart Remodeling Company prioritizes customer satisfaction. Positive reviews and testimonials from previous clients reflect their commitment to delivering excellent service and exceeding customer expectations.
Get a Quote today for an expertly executed project.
Wrap Up
To sum it up, cutting laminate flooring is crucial for a neat and professional-looking installation. Just follow the simple steps in this guide, use the right tools, and pay attention to details like marking and positioning. By doing so, you’ll be able to easily complete your laminate flooring project, achieving a fantastic and seamless result for your floors.