Transforming your kitchen by painting the cabinets can breathe new life into the heart of your home. And if you are doing it yourself, painting them is a cost-effective and rewarding DIY solution. However, the thought of the messy and time-consuming sanding process often deters homeowners from taking on this project.
The good news is that there’s a simpler way to achieve beautifully painted cabinets without chaos and upheaval. If the idea of sanding has been a major roadblock for you, fear not – you can still revitalize your cabinets without this step. Having painted numerous cabinets – from kitchens and bathrooms to RVs, I’ve developed a no-sanding method that delivers impressive results.
In this guide, I’ll show you how to paint your kitchen cabinets without the hassle of sanding. It will allow you to achieve a lasting transformation for your space in a fraction of the time.
Can I Paint Over My Cabinets Without Sanding?
If you want to skip the sanding process when transitioning between newly painted surfaces or when dealing with unvarnished wood cabinets. In cases where cabinets have damaged or peeling paint or possess overly shiny surfaces due to the material or a glossy coating, it is advisable to do a light sanding to enhance the adhesion of the new paint.
However, if the cabinet doors feel smooth (and not slick) to the touch, you can choose to bypass the sanding step and do some other preliminary preparations.
To skip sanding before priming, utilize mineral spirits and a coarse sponge to clean and gently roughen the cabinet area that you want to paint. While this method doesn’t open up the wood cabinet material as extensively as sanding does, it provides additional texture for the primer to adhere to, ensuring adequate bonding.
Step-by-step Guide to Paint Your Kitchen Cabinets Without Sanding
Quickly transform your kitchen cabinets without the fuss of sanding. Follow these simple steps to give your kitchen a fresh look without the need for complicated sanding techniques.
Project Overview
| Working Time | 8 to 12 Hours |
| Skill Level | Intermediate |
| Estimated Cost | $250 to $500 |
| Total Time | 3 to 4 days |
What’ll You Need
Equipment
- Manual screwdriver (Phillips)
- Manual screwdriver (flathead)
- Electric drill
- Latex or nitrile gloves
- High-quality nylon brush
- Foam roller handle
- Painter’s pyramids or the tripods
- Paint tray
- Sponge
- Clean bucke
Materials
- Box TSP/ TSP substitute
- Two gallons of bonding primer
- Quart liquid sander or deglosser
- Two gallons of enamel cabinet paint
- Roll painter’s tape
- Tack cloth
- Sandpaper (220-grit)
- Plastic sheeting
- Package of paint tray liners
- Microfiber cloths
- Ten foam rollers
- Masking film
Instructions
Follow the below instructions to paint kitchen cabinets without the sanding process.
Step 1: Assess Your Painting Plan
Evaluate which cabinet surfaces need painting, including both sides of doors, front and back of drawer front, and outer surfaces of cabinet boxes (excluding tops and bottoms). Decide if you’ll paint shelves, insides of drawers or cabinets, and tops or bottoms.
Step 2: Choose a Work Area
Choose a spacious covered area like a garage or covered patio for painting. Cover the floor with taped plastic sheeting. Use high surfaces like folding tables with plastic or plywood Step 3: Remove the Hardwarefor painting.
Step 3: Remove the Hardware
Take off the cabinet door and drawer pulls, leaving hinges intact. Use a Phillips head screwdriver to remove pulls and label them in plastic bags. Keep track of the hardware’s location.
Step 4: Take off the Cabinet Doors
Remove cabinet hinges with a Phillips head screwdriver. If the cabinet doors have two-part European hinges, turn the screw counter-clockwise and slide the door forward. One part of hinge will go with the door and the other part will stays on the cabinet box.
Step 5: Take off Drawer Fronts
Several drawers feature decorative fronts that can be taken off to simplify the painting process. Take the drawer out of the cabinet and empty its contents. Examine the back of the drawer front; if you see two or more screw heads, the front can be removed without impacting the drawer’s integrity. Unscrew the screws, place them in a bag, and label each drawer front before removal.
Step 6: Clean the Surfaces
Thoroughly cleanse the surfaces that you want to paint using TSP or a TSP substitute. Dissolve it in a clean bucket filled with warm water. Use the sponge damp throughout the cleaning process. Cabinets near ovens, stoves and exhaust fans may accumulate more grease. So, it requires extra care. Clean any dried food particles with mild soap, warm water, and a scouring pad. Pay particular attention to areas around cabinet pulls and other regions where oils and dirt may have become embedded from regular contact.
Step 7: Tape the Cabinets
Secure the cabinets that cannot be taken away for painting within the designated work area. Use tape to protect the walls surrounding both wall and base cabinets. Then do apply masking film on the extensive areas that require safeguarding, such as countertops, appliances, sinks, and walls.
Step 8: Do your Preparations for Painting
Organize the cabinet doors and drawer fronts within the designated work area. Utilize painter’s pyramids, which are little plastic tripods that lift the items. They provide a convenient setup. It’s advisable to choose a temperature that falls within the range of 50 to 90°F for optimal conditions.
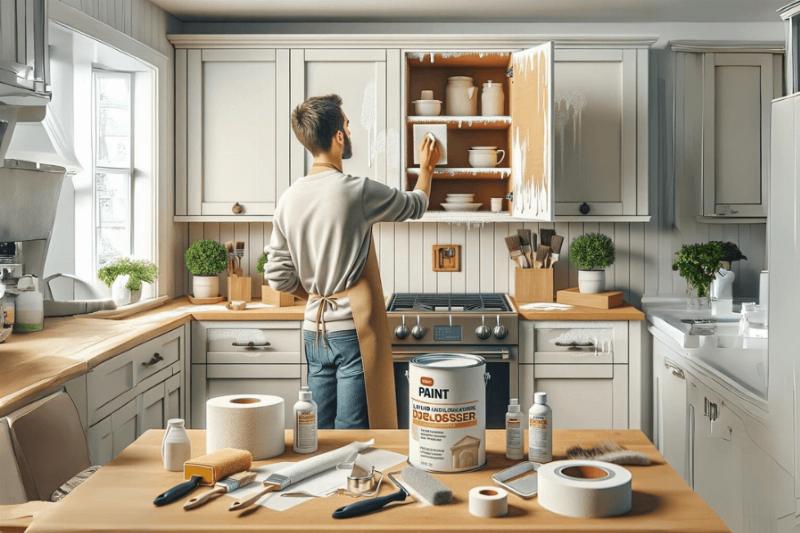
Step 9: Degloss the Surfaces
While wearing safety glasses and waterproof gloves, dispense undiluted sander or deglosser directly onto a microfiber cloth. Gently rub the cabinet surfaces in a circular motion, consistently refolding the fabric to access a clean section. Dispose of used clothes as needed.
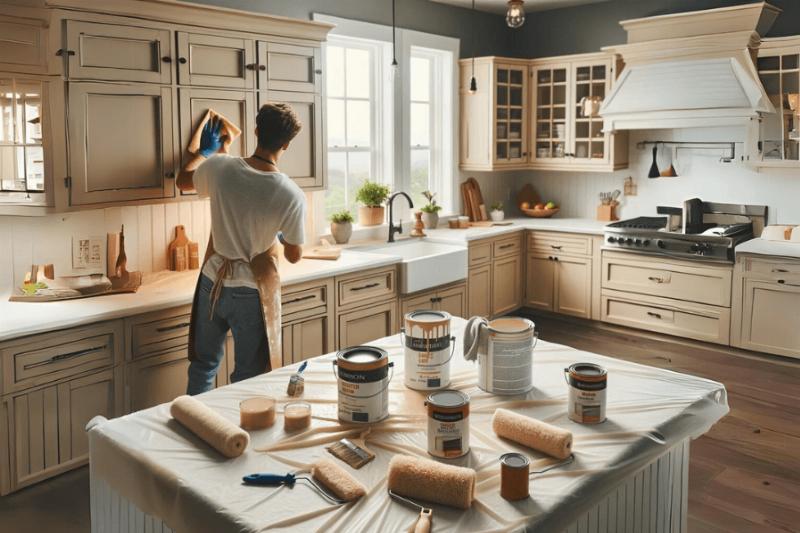
Step 10: Applying the Bonding Primer
Utilize a nylon or polyester brush to apply the primer to the bevels and edges of doors and drawer front. Employ the foam roller for even application on flat surfaces. When working indoors, apply the bonding primer to the extensive sides of the cabinets using a 4 inch foam roller—transition to a 2 inch foam roller for the intricate face frames.
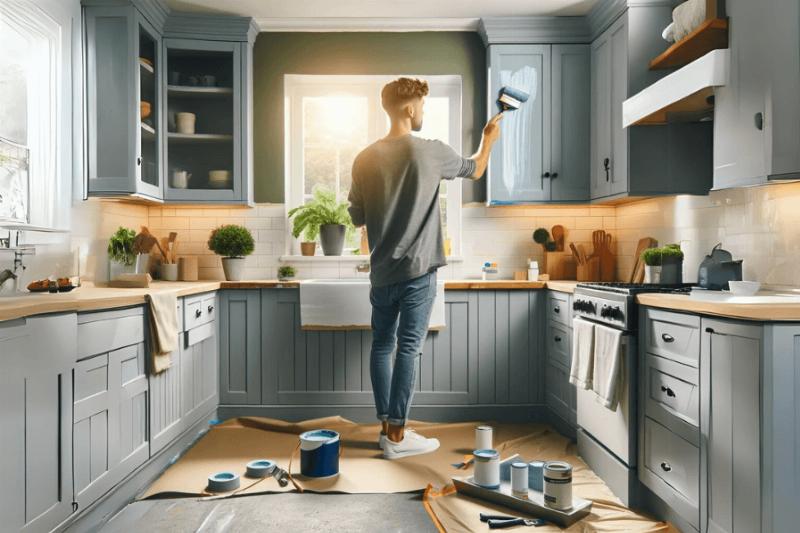
Step 11: Applying the Cabinet Paint
Allow at least an hour after applying the primer before coating it with cabinet paint. Ensure proper adhesion by applying painter’s tape, pulling it off, and ensuring no primer sticks to the tape. Repeat the procedure used for the primer: use a brush for details and foam rollers for larger areas.
Step 12: Adding More Coats
Apply at least two coats of cabinet paint and wait a minimum of two hours between each coat.
Are there any Specific Issues to Avoid While Painting Cabinets Without Sanding?
Painting cabinets without sanding can be tempting for its time-saving appeal, but it comes with specific challenges and potential issues that you should be aware of. Here are some key issues to avoid when painting cabinets without sanding:
1. Missing the Cleaning Step
Skipping the essential cleaning step can compromise paint adhesion when preparing cabinets for painting. Neglecting this critical step may lead to paint flaking or chipping.
2. Using the wrong paint type
If you select an incorrect type of paint, it will be another common mistake that can lead to poor finish or poor paint adhesion. So, make sure you choose paint specifically designed for cabinets or trim to ensure optimal results.
3. Neglect to protect nearby surfaces
Failing to protect adjacent surfaces during the painting process is a mistake to avoid. Using painter’s tape and drop cloths is essential to shield nearby surfaces from paint splatters or spills. This will ultimately save time and effort during cleanup.
4. Impatient in the Drying process
People sometimes rush the drying process to complete their projects quickly. However, it may result in potential issues such as smudges, uneven texture, or imperfections in the final paint finish. To achieve the best results, it is crucial to allow each coat of paint to dry completely before progressing to the next step in the painting process.
5. Apply too thick coat of paint
Applying overly thick coats of paint is discouraged as it can result in issues such as uneven coverage, drips, and extended drying times. It is advisable to opt for multiple thin coats to achieve a smoother and more even finish.
Hire a Professional to Paint Your Kitchen Cabinets
Hiring a professional to paint your kitchen cabinets can significantly uplift the aesthetics of your kitchen because it ensures top-notch quality and durability. If you’re considering this option, one of the best choices is Smart Remodeling LLC. It is a renowned company located in Houston, Texas and famous in the field of home improvements and renovations.
Here are some additional details to consider:
Not sure what color to choose? Their team provides expert consultation to help you select the perfect shade that complements your kitchen’s décor.
The key to a lasting finish is in the prep work. From cleaning and degreasing to priming, every step is meticulously handled.
Precision in painting is what sets professionals apart. With careful techniques, they ensure even coats, sharp lines, and a flawless finish.
After the job is done, they don’t leave a mess behind. Expect a spotless kitchen ready for use.
Schedule a meeting Now to discuss your vision and get an estimate!
Final Wording
In conclusion, repainting kitchen cabinets without sanding offers a variety of benefits that make it an appealing option for many homeowners. This method is less labor-intensive and can be more time-efficient, allowing for a quicker transformation of your kitchen space. It also minimizes the amount of dust and mess typically associated with sanding, making it ideal for those who want to maintain a cleaner work environment.
So, gather your materials, follow the steps outlined, and take the plunge into this rewarding home improvement project.